How to Self-Publish Your Novel With Kindle Direct Publishing: A Complete Guide
In today’s digital age, self-publishing is more accessible and affordable than ever before. Gone are the days of print runs and high overhead costs—now, anyone can become an author and sell their books worldwide in just a few simple steps.
The most popular way to publish your own book is through Amazon Kindle Direct Publishing, Amazon’s online platform for distributing print and eBooks. KDP offers print-on-demand services—meaning that all you have to do is upload your file and a well-designed cover, and Amazon will print your book whenever someone clicks order.
Why Use Kindle Direct Publishing?
1. Amazon KDP is Affordable and Easy
There are no costs associated with publishing your manuscript on Kindle Direct Publishing. It’s completely free, all the way down to the ISBN, which nearly every other platform requires you to purchase elsewhere. Amazon takes care of your inventory (hint: there is no inventory) and you take care of the marketing strategy.
2. You’ll Have a Wide Audience
Did you know that Amazon originated as a book store? Loyal to its roots, Amazon is currently the number one online bookseller in America. Your book will be cataloged alongside bestsellers. And even better, if your sales start to pick up, you can climb the genre rankings and see where you stand among every book on the site!
3. You Can Publish in Several Formats
Not only can you distribute your book through the largest ebook seller in the country, but you can also offer paperback and hardcover copies. This versatility appeals to customers and maximizes your potential profits. Imagine holding a hardcover copy of your own book in your hands—that dream isn’t as distant as it may have once seemed.
Tips For the Best Self-Published Book
1. Don’t Publish Your First Draft
Unfortunately, self-publishing sometimes gets a bad name in the literary industry for saturating the market with low-quality, unedited writing. No matter how tempting it may be, never upload your book for publication right after you type The End. When you finish your first draft, the work is only beginning. I’d recommend completing at least three drafts on your own and then seeking the advice of a professional editor.
2. Hire an Editor
The absolute best thing you can do for your manuscript is get another pair of eyes on it—specifically, eyes that are trained to catch exactly the types of things writers miss. There are three main types of editing: developmental editing, copy editing, and proofreading. Developmental editing is similar to a beta read; a professional will read your book and provide feedback on the elements of your plot, your pacing, etc.
While developmental editing is optional and best for people who feel stuck in their writing, copy editing is a non-negotiable must. At a certain point, you just can’t catch errors in your own writing anymore, and there’s nothing that puts readers off more than finding mistakes every few pages. A copy editor will find all these issues, as well as strengthen weak sentences and details. If you’re ready to bring on an editor for your project, I offer competitive pricing for all types of professional editing—you can contact me here!
Proofreading is similar to copy editing, but it’s the absolute last step before publishing—one last sweep to catch continuity errors, spelling and grammar, and formatting inconsistencies.
3. Don’t Forget the Details
Whether you agree with it or not, people love to judge a book by its cover. One of the best things about self-publishing is having creative freedom in every aspect of your book, and sometimes that means hiring out for things you just can’t do yourself. If you’re not a professional designer, it’s probably best to trust somebody else with this important part of your book—you’ll support an independent artist, and you just might get the cover of your dreams.
How to Publish a Book on Kindle Direct Publishing
Step One: Create an Account
On the KDP home page, choose Join KDP and make an account. You can link this to your existing Amazon account or start from scratch with a new login.
Step Two: Start a Project

Once you’re signed up and logged in, click “+ Create” on the landing page.
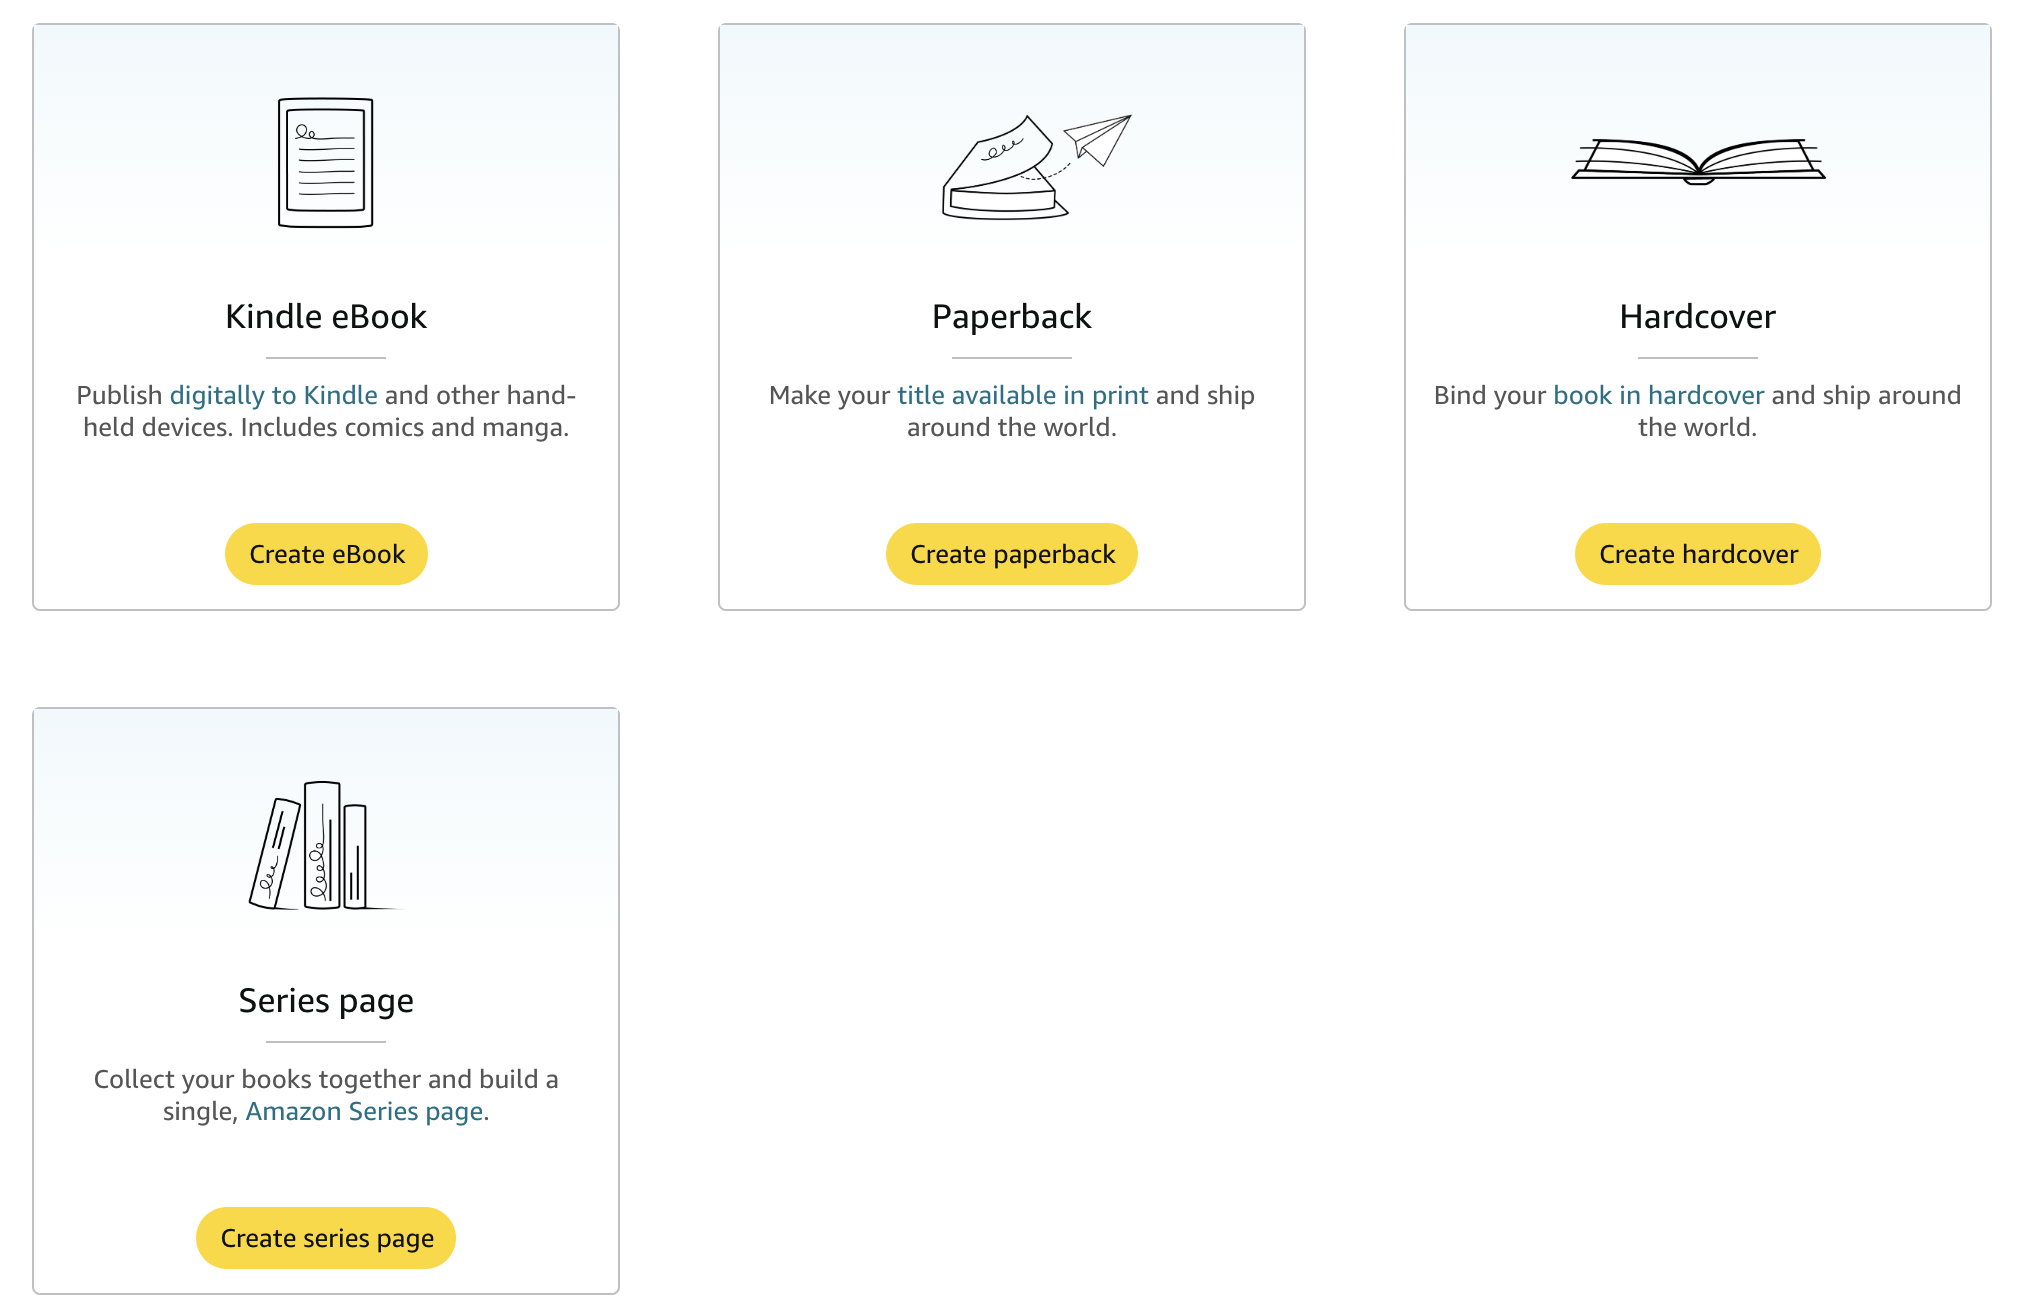
Then, choose which format you’d like to set up first. You will have the option to sell your book as an eBook, a paperback, AND a hardcover, but you will need to upload different cover sizes/manuscript files for each.
Step Three: Enter Your Book Specifications
Next, you’ll need to enter your book’s details. Under the details tab, you’ll choose the language, enter your title, author information, and description, and set your release date (the day your book will be available for purchase on Amazon).

Under the Content tab, you’ll have to make your first major decision: whether to use an Amazon ISBN or purchase your own ISBN. Amazon ISBNs are completely free—a major upside to this option—but they come at the cost of exclusivity, meaning you can only publish your book on Amazon’s site. If this was your plan anyway, you’ll get the added benefit of being able to list your book on Kindle Unlimited, Amazon’s reading subscription service, and get paid per page read.
If you’d like to list your book elsewhere, like Barnes and Noble’s print-on-demand publishing service, you’ll need to purchase an ISBN from an online seller (prices start as low as $22.99, and if you’re planning on publishing a lot of books, you can buy in bulk for a discount!)

You’ll also decide what type of paper you want inside your book (cream or white, color or black and white), what the dimensions of your book will be, and whether your cover will have a glossy or matte finish.
Step Four: Set Your Pricing
Now for the fun part—deciding what you’ll charge for your work. Amazon makes this as simple as possible: they provide a minimum price based on printing and labor costs, and you choose a number above that minimum, of which you will receive a 60% royalty (a very high percentage compared to 5-25% royalties on books published by Big Five publishers) for sales directly through Amazon. You’ll be able to see exactly what you’ll make for each book you sell.

I’d recommend making your pricing competitive compared to traditionally published books, which typically run about $15 for a paperback or $25 for a hardcover. If your books are priced reasonably, people are more likely to buy them and spread the word!
Step Five: Wrapping Up
Once you’ve input all of your book’s details and you’re happy with the online preview, it’s time to request a proof. Author proofs are available at the price of printing and are an important step to make sure everything is perfect before hitting that publish button. They’ll send you a copy of your book with a “Not for Resale” banner along the top, and you’ll see what your readers will receive when they order a copy of your book.
*Keep in mind that proof copies typically tend to be lower quality than final printings. I’ve noticed coloring differences on the cover in particular. It’s mostly important for checking your formatting and how everything lines up in the printed copy.
If everything looks good with your proof copy, you’re ready to hit that final button and schedule your publication!

What’s Next?
Now that your book is scheduled for publication, you’re ready for the most important step: marketing yourself. Plenty of self-published books fall under the radar with no marketing team to push out information about the release, so you’ll need to learn to be your own marketing team. In the age of social media, free advertising is more available than ever before. Even if social media isn’t quite your thing, platforms like TikTok make it easy to get your posts seen, even as a smaller creator.
Don’t let your book be forgotten. Self-publishing is a big part of the industry’s future, and it’s easier than ever now to make sure your voice is heard. And finally, congratulations on being a published author!